How to Start a Self Sufficient Homestead from Scratch: Step-by-Step Guide
Starting a self sufficient homestead from scratch might seem overwhelming. The process becomes manageable when you break it down into clear…
Starting a self sufficient homestead from scratch might seem overwhelming. The process becomes manageable when you break it down into clear steps.
You can begin homesteading right where you are by developing essential skills like gardening, food preservation, and basic repairs before you ever buy land or animals. Many people believe they need acres of property and thousands of dollars to start. The truth is that homesteading is more about resourcefulness than wealth.
The path to self sufficiency starts with small changes in your daily routine. Learning to cook from scratch, grow a few vegetables in containers, and reduce your dependence on stores builds the foundation for everything that comes later.
These habits cost little to practice but teach you the discipline and skills needed when you expand to larger projects. Whether you live in an apartment with a balcony or own rural property, you can take meaningful steps toward self reliance today.
This guide walks you through the complete process of building a self sufficient homestead from choosing land and setting up infrastructure to growing food and raising animals. You’ll learn how to avoid common mistakes, work within your budget, and create a homestead that matches your personal goals.
Key Takeaways
- Start with developing practical skills like gardening and food preservation before investing in land or livestock
- You can begin homesteading in small spaces using containers, vertical gardens, and backyard projects regardless of where you live
- Success requires careful planning from selecting the right location to designing systems for water, food production, and animal care
Defining Your Self Sufficient Homestead Goals
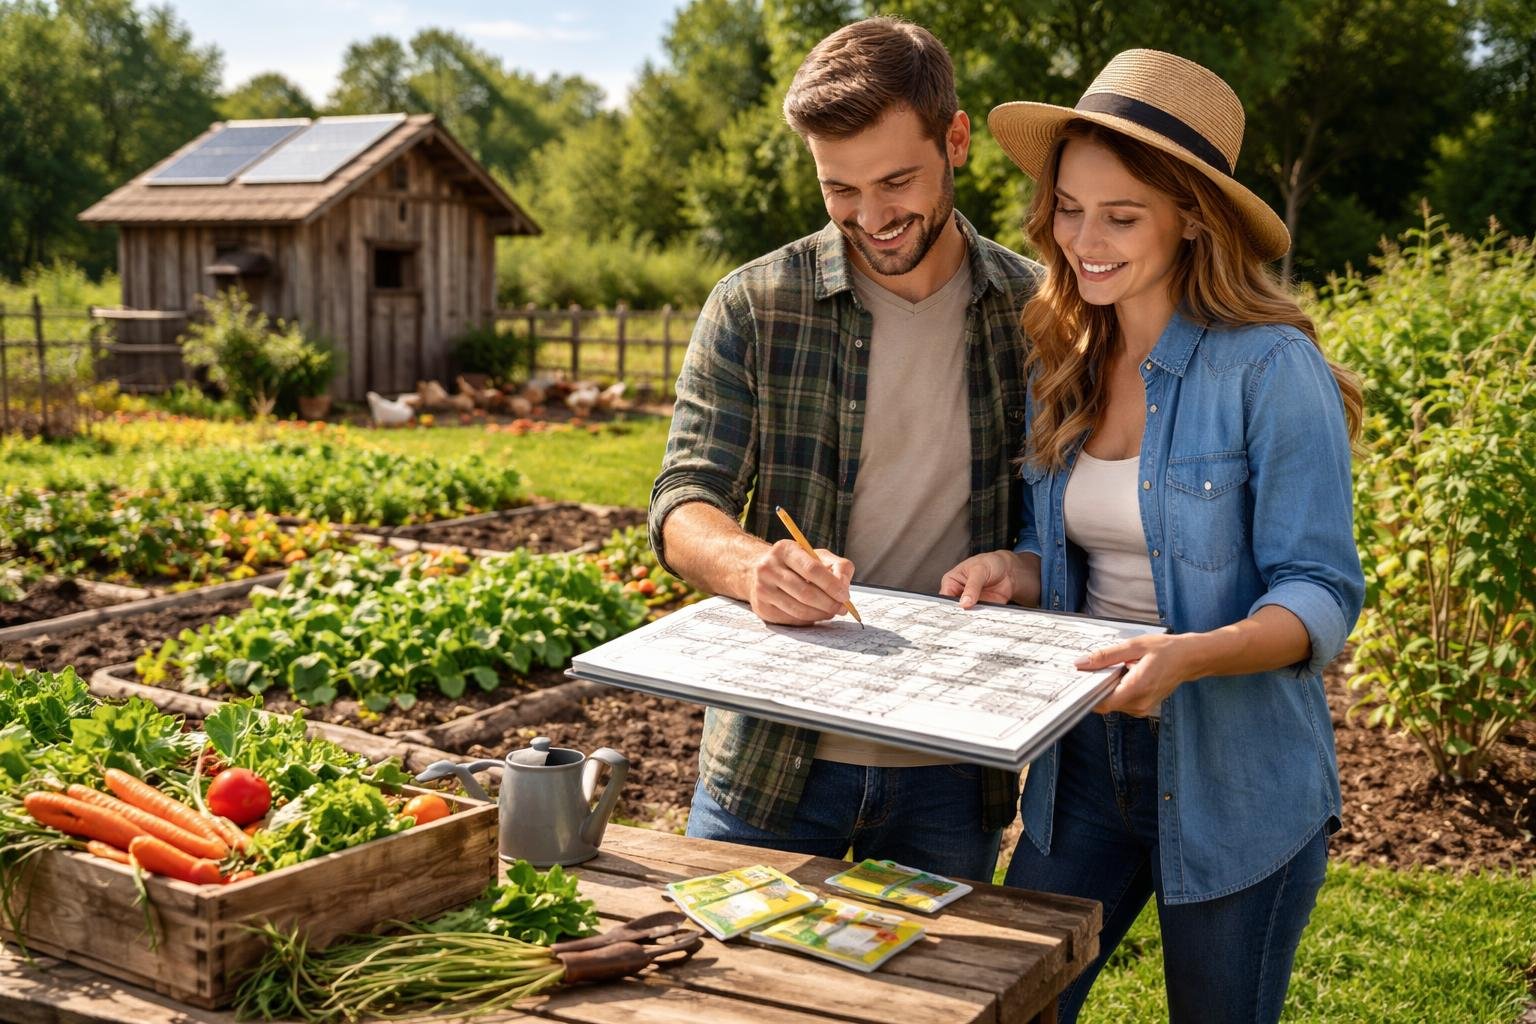
Before you buy land or plant a single seed, you need to figure out what you actually want from your homestead. Your goals will shape everything from how much money you’ll need to what skills you should learn first.
Clarifying Your Self-Sufficiency Vision
You need to get specific about why you want to start a homestead from scratch. Some people want to grow all their own food, while others focus on raising animals or living off-grid.
Maybe you want to escape the 9-to-5 grind, or you’re looking for a way to reduce your living costs. Write down your main reasons for starting a homestead.
Think about what “self-sufficiency” actually means to you personally.
Common homesteading focus areas include:
- Growing vegetables and fruit for your family
- Raising chickens for eggs and meat
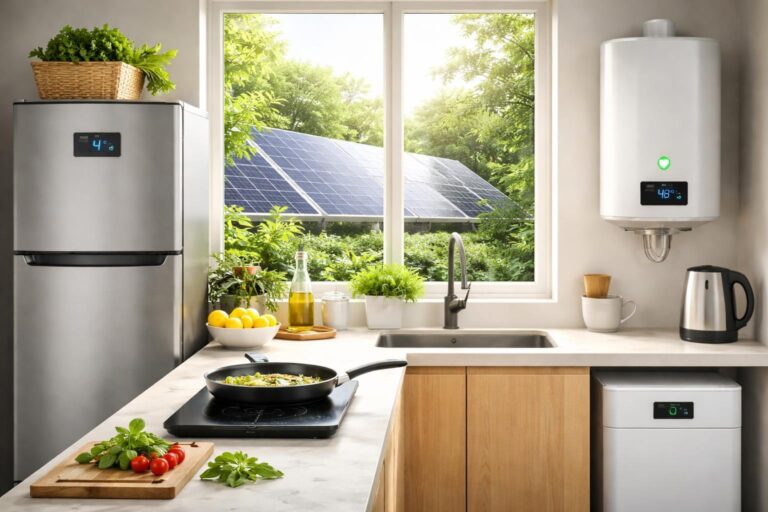
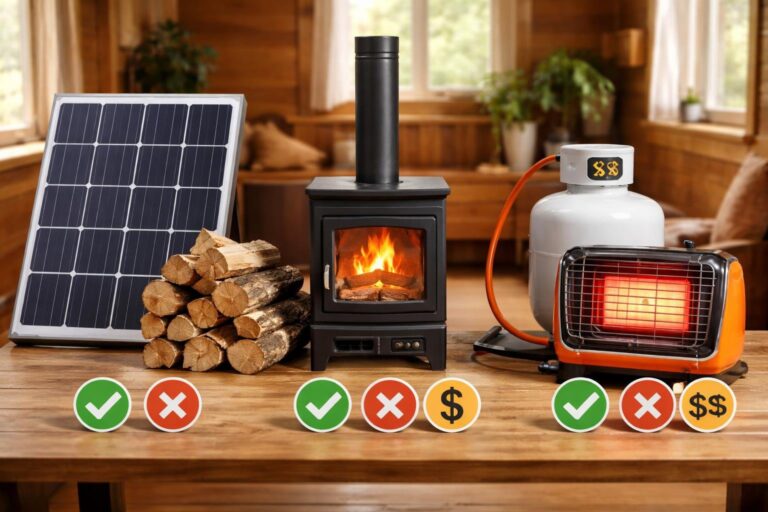
- Producing your own energy through solar or wind
- Making your own dairy products from goats or cows
- Creating income from farm products
Defining your purpose helps form a long-term plan that you can actually stick to. Start by choosing one or two main goals instead of trying to do everything at once.
You can always expand later as you gain experience.
Setting Your Budget and Resources
Money is a big deal when you’re starting a homestead. You’ll need cash for land, tools, seeds, animals, and building materials.
Most people underestimate how much it really costs to get started. Figure out how much you can spend right now and what you can afford each month.
Be honest about your financial situation. It’s better to start small with what you have than to go into debt trying to build everything at once.
Your budget should cover:
- Land purchase or lease payments
- Basic infrastructure like water systems and shelters
- Seeds, plants, and soil improvements
- Tools and equipment
- Animal feed and veterinary care
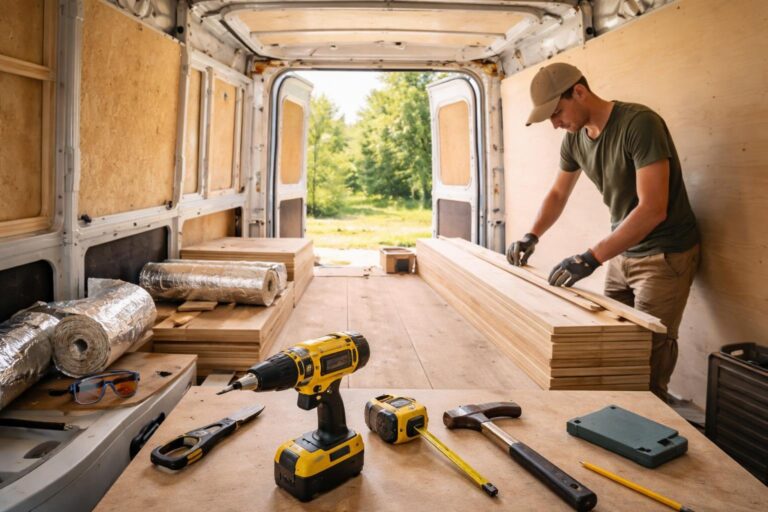
Look for used tools and materials to keep costs down. Learning DIY skills saves money on construction and repairs.
You can also trade work or products with neighbors instead of paying cash for everything.
Mindset and Skills for Self-Reliance
Starting a self-sufficient homestead takes more than just money and land. You need patience and a willingness to learn by doing.
Most homesteaders fail because they rush into it without the right mindset or basic skills. Expect to make mistakes, especially in your first few years.
Gardens fail, animals get sick, and projects take twice as long as you planned. That’s normal.
Key skills to develop include:
- Basic gardening and plant care
- Food preservation like canning or fermenting
- Simple carpentry and repair work
- Animal care and handling
- Water management and conservation
You don’t need to master everything before you start homesteading. Pick one or two skills that match your immediate goals.
Start with easy-to-grow crops like tomatoes and herbs to build confidence. As you get comfortable with the basics, you’ll naturally pick up more advanced techniques through practice and problem-solving.
Choosing and Preparing Your Homestead Location
Your homestead property needs to support your goals for years to come. The right land for homesteading depends on practical factors like access, legal restrictions, and natural resources that will determine what you can grow and build.
Evaluating Land and Access
Size matters when choosing homestead property, but so does accessibility. You need at least 1-2 acres for a basic homestead with gardens and small livestock, though 5-10 acres gives you more options for larger animals and diverse production.
Check how you’ll access your land year-round. A private dirt road might look fine in summer but become impassable during winter storms or spring thaw.
Look for properties with maintained road access or be ready to invest in road improvements. Consider distance to essential services.
Living 50 miles from the nearest hardware store sounds romantic until you need emergency supplies. Balance your desire for privacy with practical needs like medical care, building materials, and markets where you can sell excess produce.
Key access factors include:
- Road condition and maintenance responsibility
- Distance to emergency services
- Proximity to suppliers and markets
- Cell phone coverage and internet availability
Sloped land can work well for an off-grid homestead, offering natural drainage and varied microclimates. However, steep slopes limit where you can build and farm.
Checking Zoning and Legal Considerations
Zoning laws control what you can do with your land. Some areas prohibit livestock, limit building size, or restrict agricultural activities.
Call the local planning department before buying any property. Agricultural restrictions vary widely by location.
Urban and suburban zoning typically limits animal numbers and types. Rural agricultural zones offer more freedom but may still have rules about structure placement and commercial activities.
Water rights deserve special attention. Some states don’t allow rainwater collection without permits.
Others restrict well drilling or limit how much groundwater you can use.
Check these legal requirements:
- Minimum lot sizes for dwellings
- Setback requirements from property lines
- Septic system regulations
- Building permit processes
- Home occupation rules if you plan to sell products
Don’t assume rural land means no restrictions. Even properties far from towns often have county regulations about building codes and land use.
Assessing Soil, Water, and Sun Exposure
Soil quality determines what you can grow and how much work you’ll face. Get a professional soil test before buying land.
The test reveals pH levels, nutrient content, and soil composition. Most vegetables prefer soil pH between 6.0 and 7.0.
You can adjust pH over time, but starting with decent soil saves years of amendments. Check drainage by digging a hole 12 inches deep, filling it with water, and timing how long it takes to drain.
Water should disappear within 24 hours.
| Soil Type | Drainage | Best Uses |
|---|---|---|
| Sandy | Fast | Root vegetables, drought-tolerant crops |
| Clay | Slow | Needs amendment, holds nutrients well |
| Loamy | Moderate | Ideal for most garden crops |
Your growing zone affects what crops will thrive. Find your USDA hardiness zone to understand which plants survive winter in your area.
Also check average frost dates and length of growing season. Water availability makes or breaks a homestead.
Natural springs, ponds, or streams provide reliable water for irrigation and livestock. If you’ll depend on wells, research typical well depths and water quality in the area.
Sun exposure shapes your homestead layout. South-facing slopes get maximum sunlight in northern climates.
Observe the property at different times of day to identify shaded areas and sun pockets. You need at least 6-8 hours of direct sun for productive vegetable gardens.
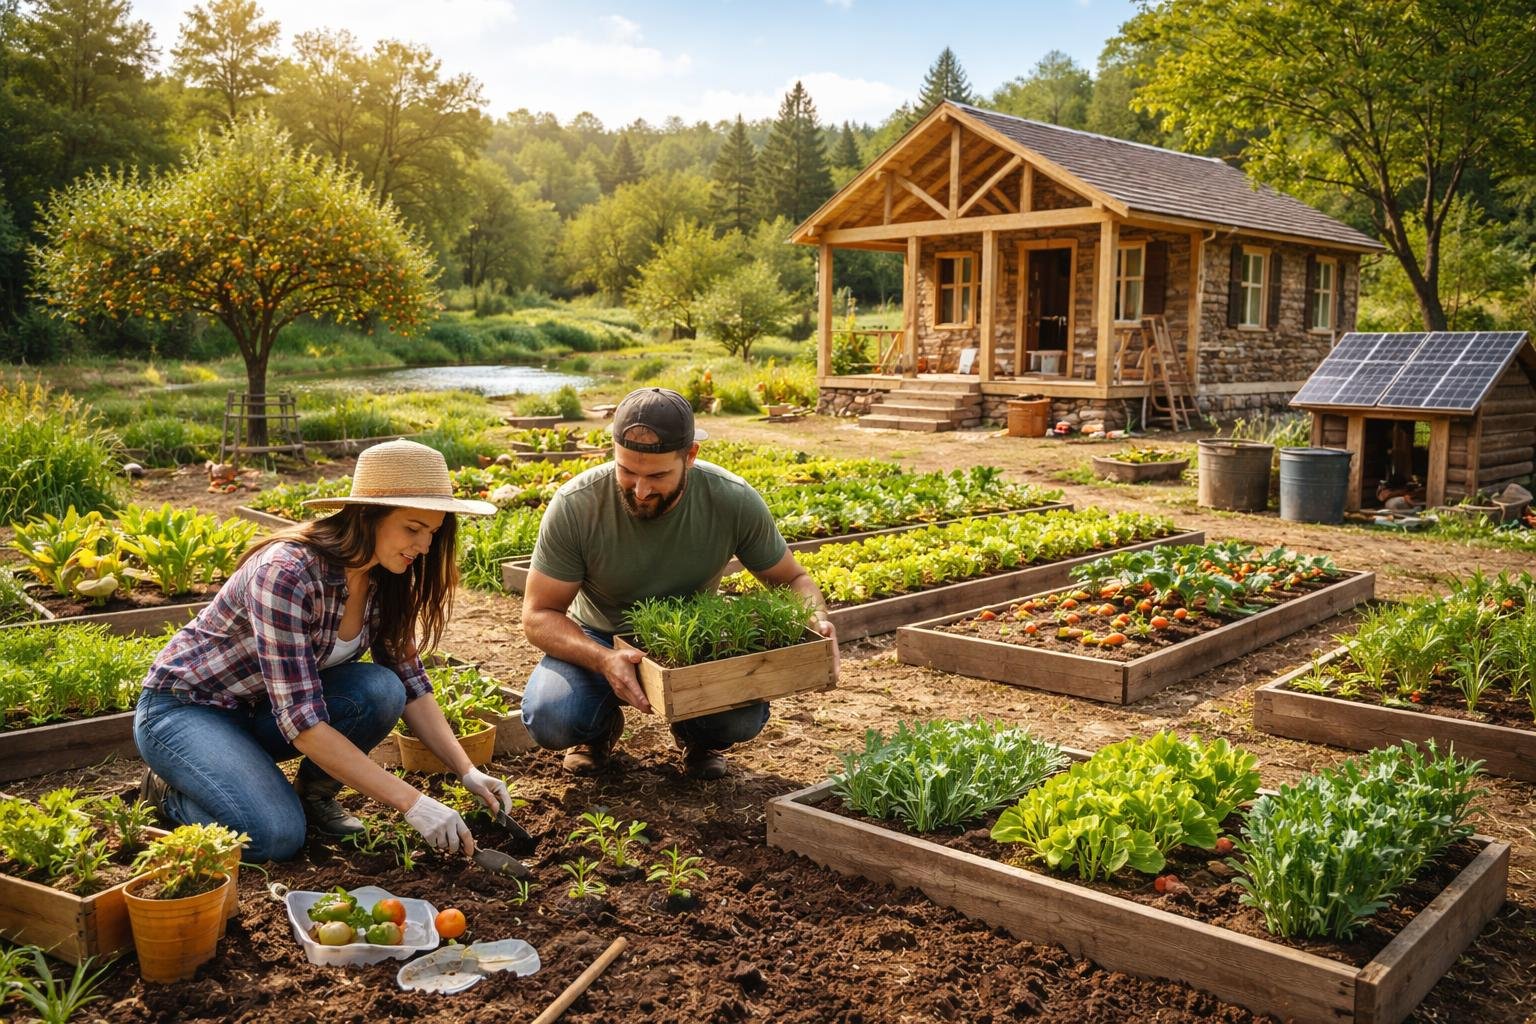
Designing and Setting Up Your Homestead
A well-designed homestead uses smart placement of gardens, water systems, and buildings to save you time and work. Getting these basics right from the start means less hassle later.
Homestead Layout and Permaculture Design
Your homestead layout should group related tasks together to cut down on walking and wasted effort. Place your kitchen garden close to the house so you can grab herbs and veggies quickly.
Put chickens near the garden so you can easily collect scraps and manure. Permaculture design works with nature instead of against it.
This means observing how water flows across your land, where the sun hits hardest, and which areas stay protected from wind. Place fruit trees on contour lines to catch runoff.
Use windbreaks like hedgerows or tree lines on the north and west sides to protect tender plants. Think in zones based on how often you visit an area.
Zone 1 sits right outside your door with herbs and salad greens. Zone 2 holds raised beds and your main vegetable garden.
Zone 3 works for larger crops and fruit trees. This system saves you countless trips across your property.
Water Management and Harvesting
Water is your most critical resource on any homestead. Rainwater harvesting captures free water from your roof through gutters and downspouts into storage tanks.
A 1,000 square foot roof can collect about 600 gallons from just one inch of rain. Set up a rainwater catchment system with first-flush diverters to keep debris out of your tanks.
You can use this water for irrigation, animals, and even household use if you filter it properly. Position water storage at your highest point so gravity does the work of moving water downhill.
Irrigation systems range from simple soaker hoses to drip lines on timers. Drip irrigation puts water right at plant roots and wastes almost nothing.
Swales and berms catch and hold water in your soil instead of letting it run off. This keeps your plants hydrated longer between waterings.
Setting Up Essential Infrastructure
Start with structures that make your daily work easier. A greenhouse extends your growing season by months and protects seedlings from harsh weather.
Even a simple hoop house covered in plastic gives you a big advantage. Raised beds warm up faster in spring and drain better than ground-level gardens.
Build them 3-4 feet wide so you can reach the center without stepping on the soil. Fill them with quality compost mixed with your existing soil.
Your composting system turns waste into garden gold. Set up three bins so one can age while you fill another.
If you’re off-grid, a composting toilet handles human waste without using water or creating a septic headache. Add a tool shed near your garden to keep supplies dry and handy.
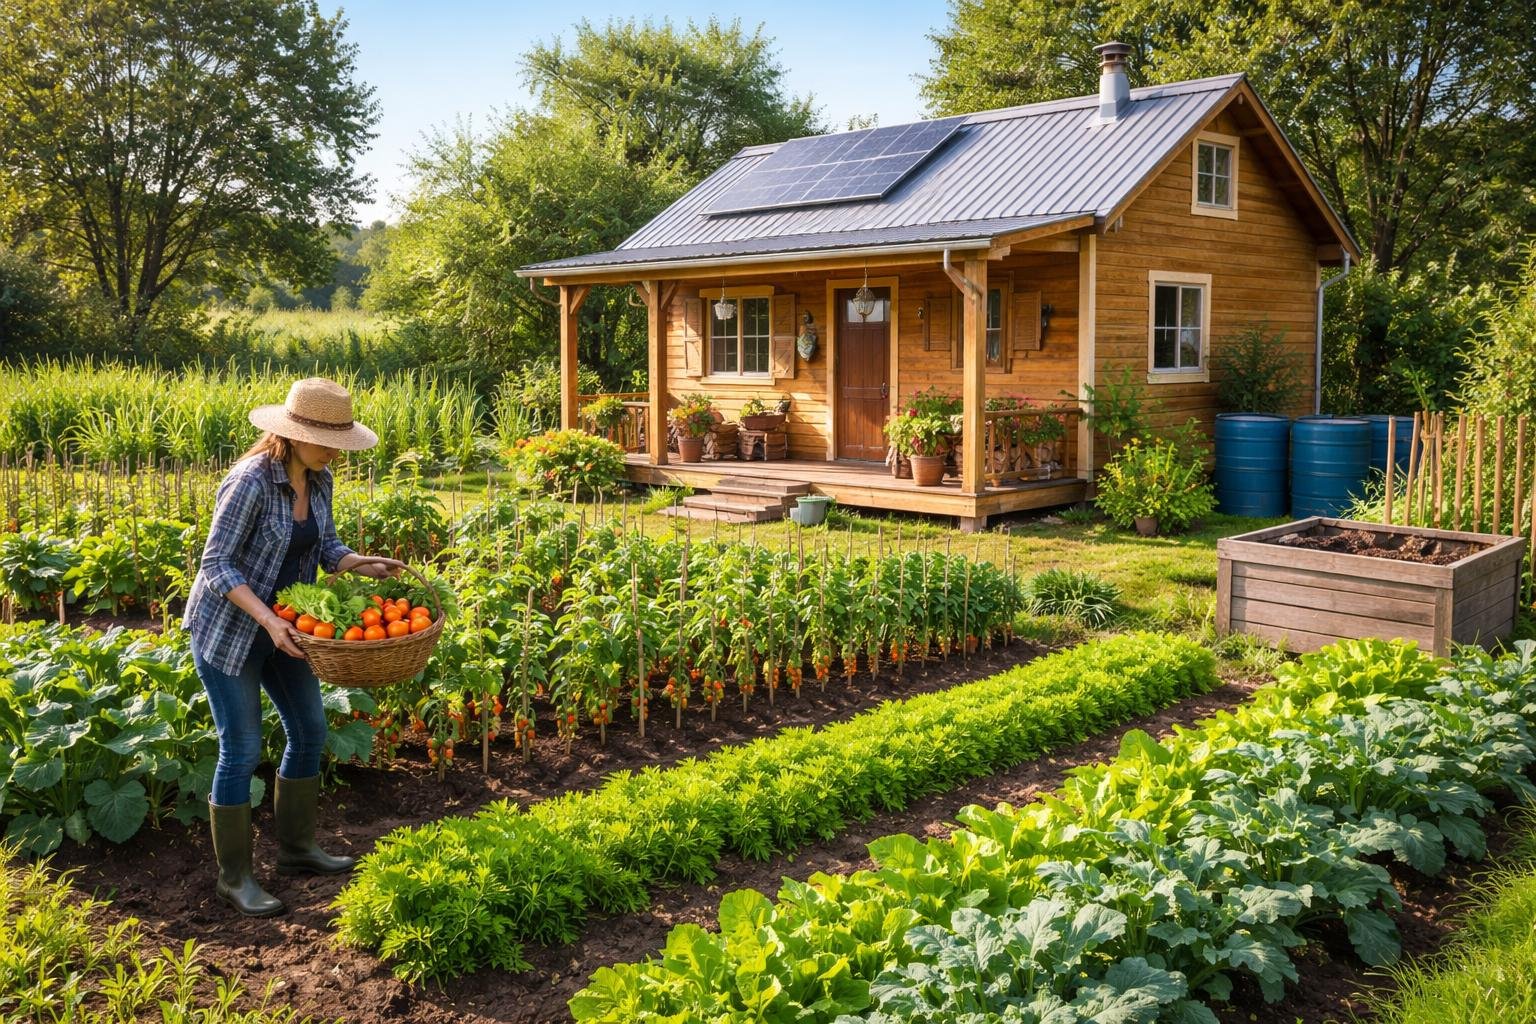
Growing Your Own Food and Managing Soil
Building a productive vegetable garden starts with understanding soil fertility and choosing crops that match your space. You can do this whether you’re working with acres of land or practicing urban homesteading in a small garden.
Starting Your First Vegetable Garden
When you grow your own food, start with easy crops that produce reliable harvests. Leafy greens like lettuce, spinach, and kale are perfect for beginners because they grow quickly and don’t need much space.
Peas are another great choice since they add nitrogen to your soil while giving you food. Root vegetables such as carrots, beets, and radishes work well in most climates.
Plant garlic in fall for a summer harvest that stores for months. These crops give you confidence while you learn basic gardening skills.
Plan your garden layout before planting anything. Group plants by their water needs and growth habits.
Tall plants like tomatoes should go on the north side so they don’t shade shorter crops. Leave paths between rows so you can reach plants without compacting soil.
Start small with a 100-square-foot plot rather than overwhelming yourself with too much space. You can always expand once you understand how much time and effort different crops require.
Improving and Maintaining Healthy Soil
Soil fertility determines whether your garden thrives or struggles. Healthy soil contains organic matter, beneficial microbes, and proper drainage.
Test your soil before adding anything to understand what nutrients you need. Composting turns kitchen scraps and yard waste into rich fertilizer.
Build a simple compost pile with layers of green materials like food scraps and brown materials like dried leaves. Keep it moist and turn it every few weeks.
Crop rotation prevents disease buildup and maintains soil health. Don’t plant the same family of vegetables in the same spot two years in a row.
Move tomatoes, peppers, and other nightshades to different beds each season. Cover crops protect and feed your soil during off-seasons.
Plant clover, rye, or vetch after harvesting summer crops. These plants prevent erosion, suppress weeds, and add nutrients when you till them under in spring.
Legume cover crops like peas and beans fix nitrogen naturally. Add compost or aged manure to garden beds each year.
A two-inch layer worked into the top six inches of soil provides nutrients and improves texture.
Integrating Orchards and Perennials
Fruit trees and perennial crops provide food year after year without replanting. Orchards take several years to produce but eventually give you abundant harvests with less work than annual vegetables.
Choose fruit trees suited to your climate and space. Dwarf varieties work well in small gardens since they stay under 10 feet tall.
Apple, pear, cherry, and plum trees need different amounts of chill hours depending on variety. Plant perennials like asparagus, rhubarb, and berries in permanent beds where they won’t be disturbed.
These crops take up space but produce for 10 to 20 years. Strawberries, blueberries, and raspberries give you fruit within one or two seasons.
Space fruit trees based on their mature size. Standard trees need 20 to 25 feet between them while dwarf varieties only need 8 to 10 feet.
Consider pollination requirements since many fruit trees need a partner variety nearby.
Using Intensive and Urban Gardening Techniques
Limited space doesn’t mean you can’t grow significant amounts of food. Container gardening lets you grow vegetables on patios, balconies, or driveways using pots filled with quality potting mix.
A vertical garden maximizes space by growing crops up rather than out. Train cucumbers, pole beans, and peas on trellises or fences.
This technique works perfectly for urban farming situations where ground space is limited. Community gardens provide plot access when you don’t have land at home.
Many cities offer affordable plots where you share tools, water, and knowledge with other gardeners. These spaces often have better soil than what you’d find in urban yards.
Raised beds and intensive planting boost yields in small areas. Build beds 3 to 4 feet wide so you can reach the center from both sides.
Plant crops closer together than traditional spacing since you’re not walking between plants. Square foot gardening divides beds into one-foot squares with different crops in each section.
This method makes planning simple and uses space efficiently for maximum production.
Raising Livestock and Animal Husbandry

Adding animals to your homestead brings fresh eggs, meat, and dairy while creating a more self-reliant lifestyle. The key is starting with beginner-friendly animals, providing proper shelter, and understanding their basic nutritional needs.
Choosing Livestock for Beginners
Chickens are the best starting point when you raise livestock on a small homestead. They need minimal space, produce fresh eggs daily, and help control pests in your garden.
A small flock of 4-6 hens can provide enough eggs for a family. Ducks and geese are slightly more work than chickens but offer larger eggs and excellent pest control.
Quail take up even less space than chickens and mature quickly, making them ideal for tiny properties. Rabbits reproduce fast and provide meat with less feed investment than larger animals.
They’re quiet, need small housing, and produce manure that enriches your soil. Goats require more space but give you milk, meat, and natural land clearing through their browsing habits.
Pigs excel at turning over soil and transforming food scraps into pork. Cows need the most land but provide substantial meat or dairy depending on the breed you choose.
Beekeeping adds pollination benefits and honey without requiring much space, though it demands different skills than raising other livestock. Start with one or two animal types based on your available time and land before expanding.
Building Housing and Essential Structures
Your chicken coop needs 3-4 square feet per bird inside with secure fencing to keep predators out. Include nesting boxes (one per 3-4 hens), roosting bars, and proper ventilation without drafts.
Ducks need similar shelter but with more floor space since they don’t roost. Rabbits do well in raised hutches that protect them from ground predators and weather.
Each rabbit needs about 6-10 square feet of space depending on their size. Goats require sturdy fencing since they’re excellent escape artists.
They need a three-sided shelter to escape rain and wind. One goat needs at least 200 square feet of outdoor space plus 15 square feet of indoor shelter.
Pigs need open sheds with electric fencing for containment. Cows require the most substantial structures with barns for shelter and strong perimeter fencing.
Set up water systems that work in all temperatures. Electric heated water bowls prevent freezing during winter.
Build everything before bringing animals home so you have time to fix any problems.
Sustainable Animal Nutrition and Care
Most livestock need feeding twice daily, though the amount and type vary significantly. Chickens eat commercial feed supplemented with kitchen scraps and forage.
Budget around $15-20 monthly per chicken for feed costs. Layer feed contains the calcium chickens need for strong eggshells.
Ducks and geese eat similar feed but need more niacin in their diet. Quail require high-protein game bird feed.
Rabbits eat hay, pellets, and fresh vegetables. A single rabbit costs about $20-30 monthly to feed.
Goats need quality hay, minerals, and browse from bushes and weeds. Each goat eats 2-4 pounds of hay daily plus supplemental grain.
Pigs have the highest feed costs due to their size and appetite. Cows need substantial amounts of hay or pasture—one cow requires 2-3 acres of good pasture or 25-30 pounds of hay daily.
All animals need fresh water daily, regular health checks, and protection from predators. Keep basic first aid supplies and learn to recognize common health problems.
Build relationships with local vets who treat farm animals before emergencies happen.
Food Preservation and Kitchen Skills
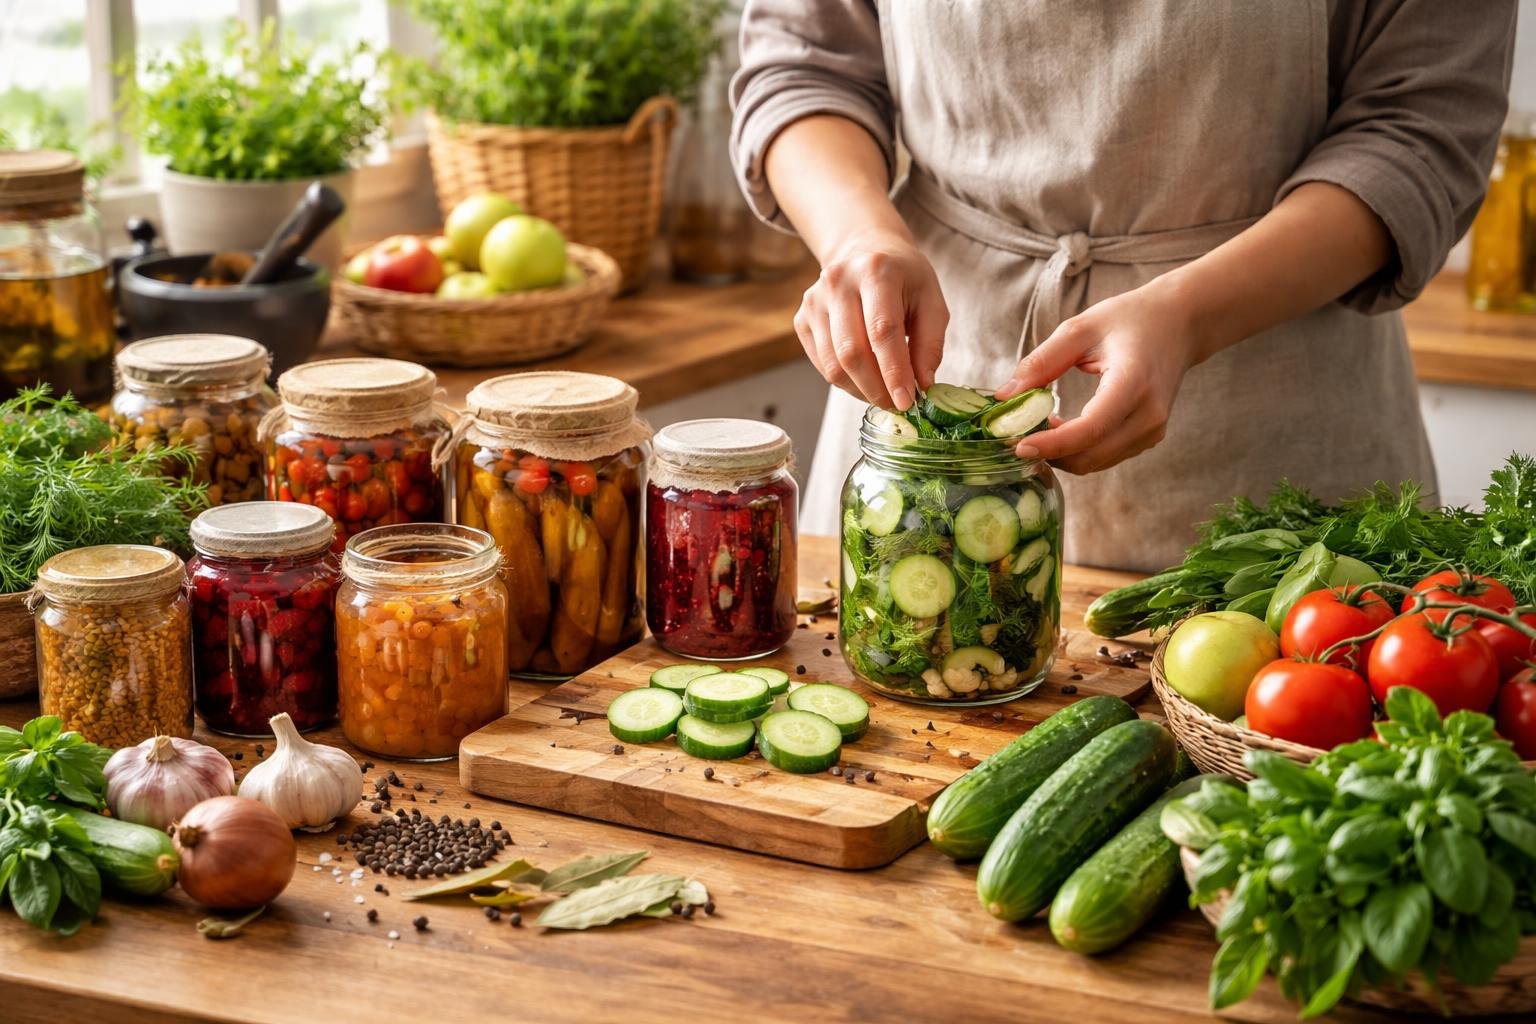
Learning to preserve your harvest and cook from scratch means you can enjoy your homestead’s bounty year-round. These skills turn seasonal abundance into pantry staples and reduce your reliance on grocery stores.
Home Canning and Food Storage
Canning lets you safely preserve vegetables, fruits, jams, and sauces for months or even years. Water bath canning works for high-acid foods like tomatoes, pickles, and most fruits.
You’ll need canning jars, lids, rings, and a large pot deep enough to cover jars by at least an inch of water. Pressure canning is essential for low-acid foods like green beans, corn, meat, and soup.
A pressure canner heats contents to 240°F, which kills harmful bacteria that cause botulism. Never use water bath canning for low-acid foods.
Basic canning supplies:
- Mason jars in various sizes
- New lids for each batch
- Jar lifter and funnel
- Pressure canner or large stockpot
- Reliable tested recipes
A root cellar provides cold storage without electricity for crops like potatoes, carrots, beets, and winter squash. You need temperatures between 32-40°F with high humidity.
Even a cool basement corner or buried container can work if you maintain proper conditions.
Fermentation and Dehydrating Basics
Fermentation transforms fresh produce into probiotic-rich foods through beneficial bacteria. Making sauerkraut is one of the easiest ways to start—you only need cabbage, salt, and a jar.
Shred cabbage, massage with salt, pack tightly into jars, and let it ferment at room temperature for 3-10 days. Other simple ferments include pickles, kimchi, and fermented salsa.
The process preserves food while adding beneficial bacteria for gut health. Building these homesteading skills helps you become more self-reliant with your food supply.
Dehydrating removes moisture so bacteria and mold can’t grow. You can dry herbs, fruits, vegetables, and jerky using an electric dehydrator or your oven on low heat.
Store dried foods in airtight containers in a cool, dark place.
Cooking and Preserving from Scratch
Making broth from kitchen scraps reduces waste and gives you control over ingredients. Save vegetable peels, onion skins, and chicken bones in your freezer, then simmer them with water for 6-24 hours.
Essential from-scratch skills:
- Baking bread without store-bought yeast
- Making butter and cheese from fresh milk
- Preparing salad dressings and condiments
- Creating spice blends and seasoning mixes
True farm-to-table cooking means using what you grow and raise. Learn to cook with seasonal ingredients and stretch meals using leftovers.
A roasted chicken becomes three meals: the initial dinner, shredded meat for tacos, and bone broth from the carcass. Start with one preservation method at a time rather than trying everything at once.
Master refrigerator pickles before moving to pressure canning, or perfect one ferment before expanding your repertoire.
Frequently Asked Questions
Starting a homestead brings up lots of practical questions about money, land use, and daily operations. These answers cover the real steps you need to take and the resources that can help you succeed.
What are the essential steps to laying out a self-sufficient homestead?
Start by developing a homesteading mindset before you buy anything or plant your first seed. You need to commit to learning and accept that you’ll make mistakes along the way.
Begin with a single project like a small garden. This lets you learn basic skills without getting overwhelmed.
Research everything about your chosen project before you start. Watch videos, read articles, and talk to experienced homesteaders in your area.
Check your local zoning laws and HOA rules if you have them. Some areas restrict what animals you can keep or where you can put garden beds.
Set up your first system and give it time to work. You might start with a few raised beds or a small chicken coop.
Evaluate how things went after your first season. Figure out what worked and what didn’t so you can adjust your approach.
Add one new element at a time once you’re comfortable with what you already have. This could mean adding chickens after you’ve mastered gardening or starting a compost pile.
What items should be on my checklist when starting a self-sufficient homestead?
Your checklist should start with basic gardening supplies. You’ll need seeds, soil amendments, and simple hand tools like a shovel, rake, and hoe.
Get containers or materials for composting. A basic compost bin helps you create rich soil without spending money on fertilizer.
Add water collection and storage to your list. Rain barrels or other water catchment systems reduce your dependence on municipal water.
Include fencing materials if you plan to keep animals. Proper fencing protects your livestock and keeps predators out.
Plan for food preservation equipment. Canning jars, a dehydrator, or freezer space lets you store your harvest for year-round eating.
Budget for animal housing if livestock is part of your plan. Even chickens need a secure coop and run area.
Add educational resources to your checklist. Books, online courses, and memberships to homesteading groups provide ongoing learning support.
Can you recommend some strategies for achieving modern self-sufficient living?
Focus on developing systems over accumulating more land. Your skills and consistency matter more than having lots of acreage.
Start where you are right now. You can grow food in containers on an apartment balcony or in raised beds in a suburban backyard.
Build your skills one at a time instead of trying everything at once. Master gardening before adding animals to your homestead.
Create multiple income streams that fit with homestead life. You might sell eggs, preserve food for others, or teach homesteading skills.
Use technology to make homesteading easier. Automatic waterers for chickens or drip irrigation for gardens save time and reduce daily labor.
Trade with other homesteaders in your area. If you’re great at growing tomatoes but someone else raises bees, swap produce for honey.
Set up passive systems that work even when you’re not home. This makes it possible to leave for a few days without everything falling apart.
What are some good resources or books for learning about self-sufficient farming?
Look for homesteading blogs that share real experiences from people doing the work. These often include detailed tutorials with photos and honest accounts of what worked and what failed.
Join online homesteading communities where you can ask questions and get advice. Facebook groups and forums connect you with experienced homesteaders who’ve faced the same challenges.
Visit YouTube channels dedicated to homesteading. Video content shows you exactly how to do tasks like building chicken coops or preserving food.
Find a local mentor or homesteading buddy who can guide you. Having someone nearby who understands your climate and local regulations is incredibly valuable.
Check out your local extension office for free resources. They offer classes, soil testing, and advice specific to your growing zone.
Look for books about sustainable practices and self-sufficient living at your library. You can learn without spending money before you decide which books to buy.
What are the best ways to achieve financial self-sufficiency while living on a homestead?
Work toward getting out of debt as your first priority. Financial independence through frugality gives you freedom to build your homestead without constant money stress.
Set strict budgets for each homesteading project. Don’t let your enthusiasm lead you to overspend on supplies or animals.
Learn to use free or cheap materials. Wood pallets, reclaimed lumber, and second-hand tools cost little but work just as well as new items.
Grow food to replace what you’d buy at the store. Every tomato you grow is money you didn’t spend at the grocery store.
Sell excess produce, eggs, or other products from your homestead. Even small sales add up and help offset your expenses.
Keep a regular job while building your homestead slowly. Most successful homesteaders maintain outside income for years while they develop their land.
Track every expense and compare it to what you save. This helps you see which homesteading activities actually save money and which ones don’t.
Is it possible to start a small homestead with very little or no money, and how can I do that?
Yes, you can start homesteading with limited funds by beginning extremely small. Save seeds from grocery store produce or ask gardening neighbors for extra seeds.
Start composting with kitchen scraps in a simple pile. You don’t need an expensive bin to make quality compost for your garden.
Build raised beds or containers from free pallets or scrap wood. Check construction sites, warehouses, or online marketplaces for free materials.
Grow high-value crops that cost a lot at the store. Herbs, salad greens, and cherry tomatoes give you the best return on your small investment.
Focus on learning before spending. Read free online resources and watch YouTube videos to avoid expensive mistakes.